
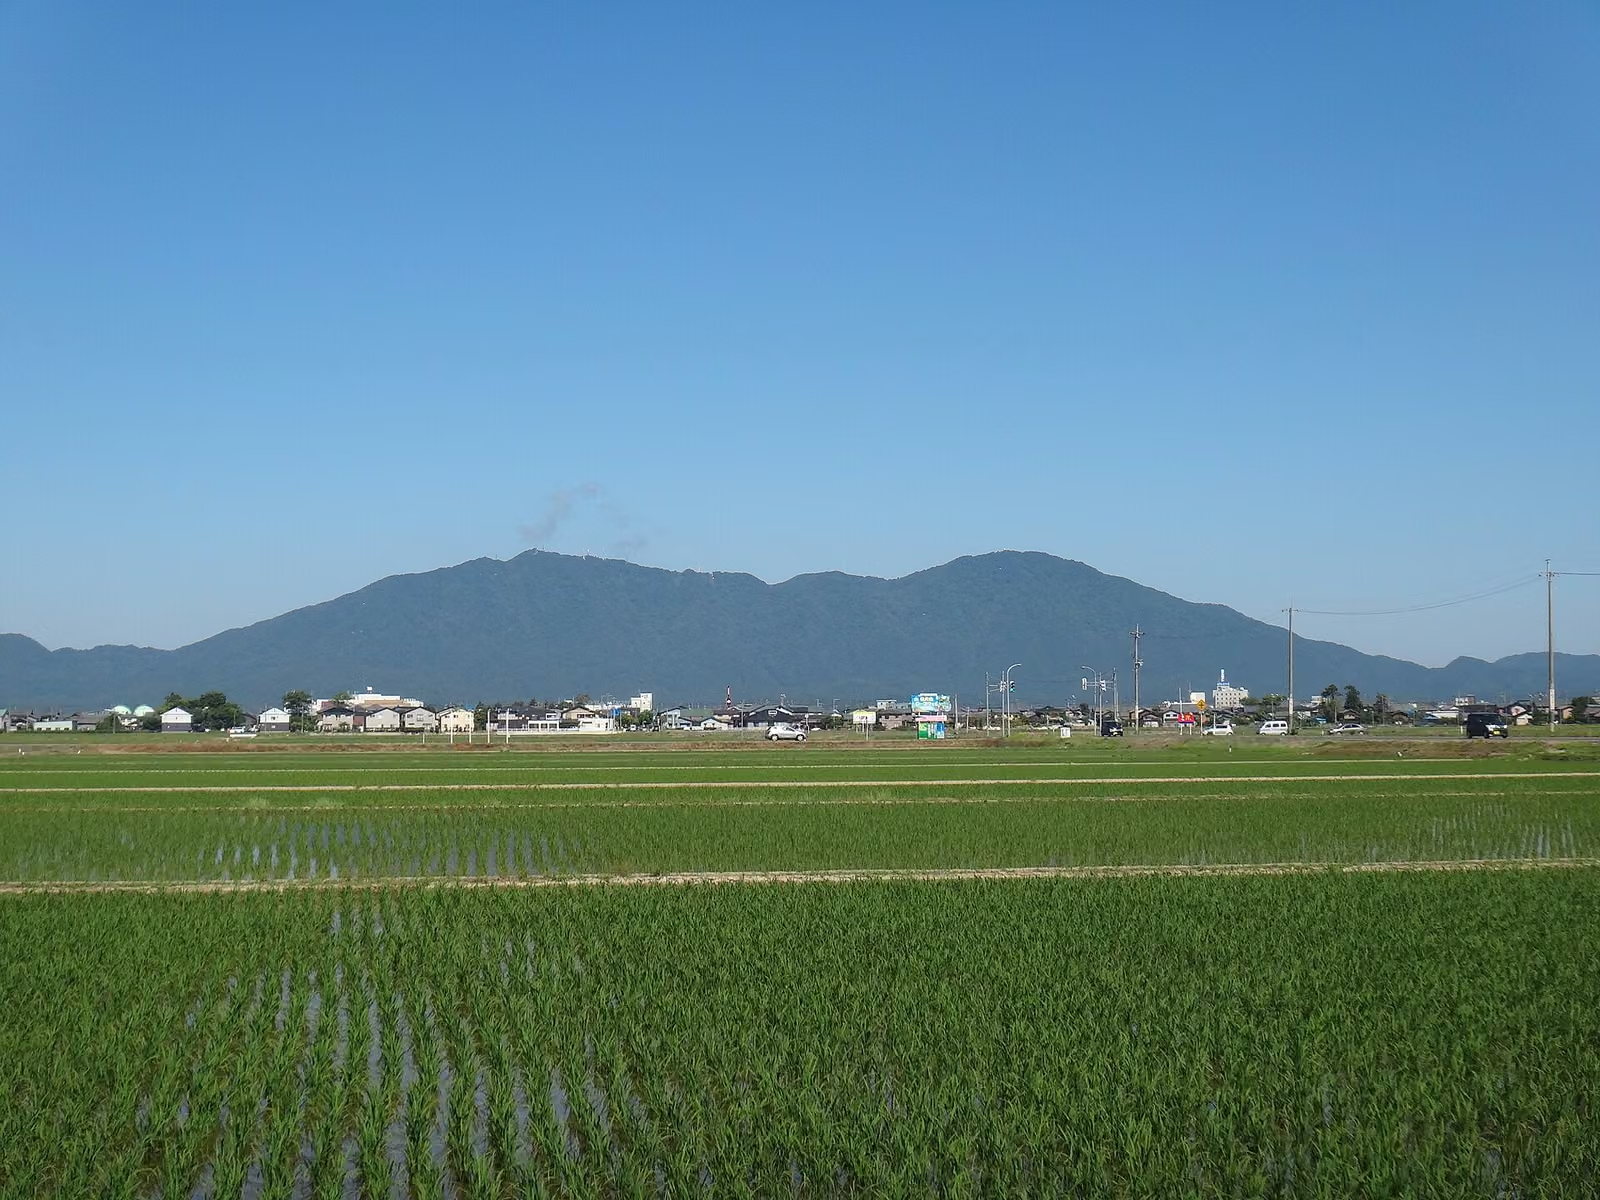
Photo: Saigen Jiro, Wikimedia Commons (CC BY-SA 4.0)

Mt. Yahiko Hiking Report: Climbing the Beginner-Friendly Omotesando Course from Yahiko Shrine to the 634 m Summit
Day-hike report and trail guide for Mt. Yahiko (634 m) in Niigata Prefecture via the classic Omotesando Course from Yahiko Shrine. Covers station-by-station progress from 1st to 10th station, Gojinsui spring, the summit shrine, Sea of Japan views, and ropeway access.
Rising to 634 m—the exact same height as Tokyo Skytree—along the Sea of Japan coast in Niigata Prefecture, Mt. Yahiko (弥彦山) is one of Niigata's most beloved peaks and the sacred mountain of Yahiko Shrine (彌彦神社, Echigo Ichinomiya).
Because the standard Omotesando Course (表参道コース, Man'yo Trail) is well maintained from the shrine grounds all the way to the summit, with numbered stone station markers (一合目 to 九合目), a rest hut and toilets at the 7th station, and a summit ropeway for anyone who wants an easier descent, Mt. Yahiko is one of the best beginner-friendly hikes in the Hokuriku and Shin'etsu regions.
This report covers an early-May climb up and down the Omotesando Course, with practical notes on trail conditions, views of the Echigo Plain and Sado Island, and access from JR Yahiko Station.
Overview of the Climb
| Item | Details |
|---|---|
| Mountain | Mt. Yahiko (弥彦山, 634 m) — Yahiko Village & Nagaoka City, Niigata Prefecture |
| Route | Omotesando Course (表参道コース) round trip: Yahiko Shrine → Omotesando Trailhead → 5th Station → 7th Station (Gojinsui) → 9th Station → Summit Shrine (御神廟) → Return via same route |
| Hike Date | May 3, 2026 (Sunny; daytime high 26.8 °C at the JMA Niigata observatory, with a cool sea breeze on the upper ridge) |
| Total Time | Approx. 3 hr 10 min (including a 30-minute summit lunch break) |
| Elevation Gain | Approx. 580 m |
| Difficulty | Beginner (well-graded forest steps and switchbacks, no chains or technical rock scrambles) |
| Best Seasons | Mid-April to Early June (fresh greenery & spring wildflowers) / October to Mid-November (autumn foliage) |
Step-by-Step Trail Report: Omotesando Course
7:45 — Morning Prayer at Yahiko Shrine & Finding the Trailhead
Before starting the climb, pay a visit to Yahiko Shrine (彌彦神社), surrounded by towering centuries-old cedar trees with the forested wall of Mt. Yahiko rising immediately behind the main hall.


To reach the Omotesando Trailhead (表参道登山口), follow the signs on the left side of the shrine precincts past the deer enclosure and the red-painted Tamano-hashi Bridge (玉の橋). After passing the shrine parking area, a clear wooden sign marks the start of the mountain trail.
8:00 — Trailhead to the 5th Station (五合目): Gentle Switchbacks Under Fresh Spring Leaves
Right at the trailhead stands a stone torii gate and an illustrated course map board.


The lower half of the Omotesando Course winds up through tall Japanese cedars and broad-leaved deciduous trees on wide earth and log steps. Every 10 to 15 minutes of walking brings you to the next numbered station post (一合目, 二合目, 三合目...), making it very easy to gauge your pace.
Around the 3rd Station (三合目), gaps in the trees begin to open out over the green rice paddies of the Echigo Plain (越後平野). Reaching the 5th Station (五合目, ~45 minutes from the trailhead) provides a flat bench area that makes a natural spot for a first hydration break.
8:45 — 5th Station to the 7th Station (七合目): Stopping at Gojinsui Spring
Above the 5th Station, the gradient steepens slightly with stone steps and rock-studded switchbacks. In early May, warm sunshine in the valley meant steady sweating on the climb, so rolling up sleeves and venting layers early kept the pace comfortable.
At 9:05, we reached the 7th Station (七合目), the main rest hub midway up the mountain:
- Gojinsui (
御神水): A cold mountain spring pipe right beside the trail; splashing the cool water on your face and hands is wonderfully refreshing (note: the spring water is not treated for drinking). - Rest Hut & Restrooms: A roofed shelter and mountain toilet sit right at the 7th Station.
9:15 — 7th Station to the 9th Station (九合目) and the Summit Shrine (御神廟, 634 m)
Above the 7th Station, the forest canopy lowers and a cool sea breeze blowing off the Sea of Japan sweeps across the slope. At the 8th Station (八合目), your line of sight clears out over the ocean.
Just below the 9th Station (九合目), the hiking trail briefly intersects the paved promenade leading from Yahikoyama Ropeway Sancho Station (ロープウェイ山頂駅) and the Yahiko-yama Skyline observation restaurant. From the 9th Station, a final 10-minute climb up stone steps leads to the true summit of Mt. Yahiko at 634 m, crowned by the Summit Shrine (御神廟, Goshinbyo), which enshrines the founding deity Ame-no-Kagoyama-no-Mikoto and his consort.


The 360-degree view from the summit area takes in two contrasting landscapes at once:
- East: The vast checkerboard of flooded spring rice paddies across the Echigo Plain, stretching toward Niigata City and the distant snow-streaked peaks of the Echigo Mountains and Mt. Iide.
- West: The deep blue expanse of the Sea of Japan, with the long silhouette of Sado Island (
佐渡島) floating across the water.
10:05 — Passing the Ropeway Summit Station & Descending to Yahiko Shrine (11:10)
On the way down from the Summit Shrine to the 9th Station, you can detour a few minutes to Yahikoyama Ropeway Sancho Station, which has public restrooms, vending machines, an observation restaurant, and views across to neighboring Mt. Taho (多宝山, 633.8 m).


If your knees are tired, you can ride the Yahikoyama Ropeway down to Sanroku Station in 5 minutes and take the free shuttle bus (or a 10-minute walk) back to Yahiko Shrine. Walking back down the Omotesando Course took just over an hour (10:05 → 11:10), stepping carefully on the stone steps between the 7th and 5th stations.
Access, Ropeway & Parking Information
By Train
- From JR Tsubame-Sanjo Station (
燕三条駅, Joetsu Shinkansen), transfer to the JR Yahiko Line (弥彦線) and ride to the terminal JR Yahiko Station (弥彦駅, approx. 30 min). - Walk approx. 15 minutes up the shrine town street from JR Yahiko Station to Yahiko Shrine, then another 5 minutes to the Omotesando Trailhead.
By Car
- Hokuriku Expressway Sanjo-Tsubame IC (
三条燕IC) or makikata-higashi IC (巻潟東IC) → approx. 25–30 minutes to the free municipal parking lots around Yahiko Shrine (彌彦神社無料駐車場). - (Note: During the autumn chrysanthemum festival and peak autumn foliage in November, some parking lots near Yahiko Shrine charge a seasonal congestion fee; check Yahiko Tourism Association notices before driving in November.)
Yahikoyama Ropeway (Optional Descent or Return)
- Operating Season: Mid-March to early December (winter closure during heavy snow months; check Yahikoyama Ropeway Official Site for current hours and fares).
- Ride Time: 5 minutes between Sanroku Station (near Yahiko Shrine) and Sancho Station (near the 9th Station).
Recommended Gear & Tips for Beginners
Even though Mt. Yahiko is a well-maintained 634 m peak with a ropeway near the top, the Omotesando Course includes stone steps, tree roots, and a 580 m elevation gain:
- Footwear: Trekking shoes or trail-running shoes with lugged rubber soles (avoid smooth-soled canvas sneakers, which slip on damp stone steps between the 5th and 8th stations).
- Wind Layer: Sea breezes off the Sea of Japan cool you down rapidly once you stop at the 9th Station or Summit Shrine—pack a light windbreaker or rain jacket even on a warm spring day.
- Hydration: Carry at least 1.0 to 1.5 L of water on sunny May to September hikes; vending machines are available at the ropeway summit station, but there are none along the forest trail from the 1st to 9th stations.
Reference Links
- Yahiko Tourism Association — Mt. Yahiko Guide
- Yahiko Shrine (Echigo Ichinomiya) Official Website
- Yahikoyama Ropeway Official Website
- Yahikoyama Ropeway — Summit Park Facilities
- Japan Meteorological Agency (JMA) — Historical Weather Data (Niigata, May 3, 2026)
- Japan Meteorological Agency (JMA) — Daily Weather Summary (Niigata, May 2026)