

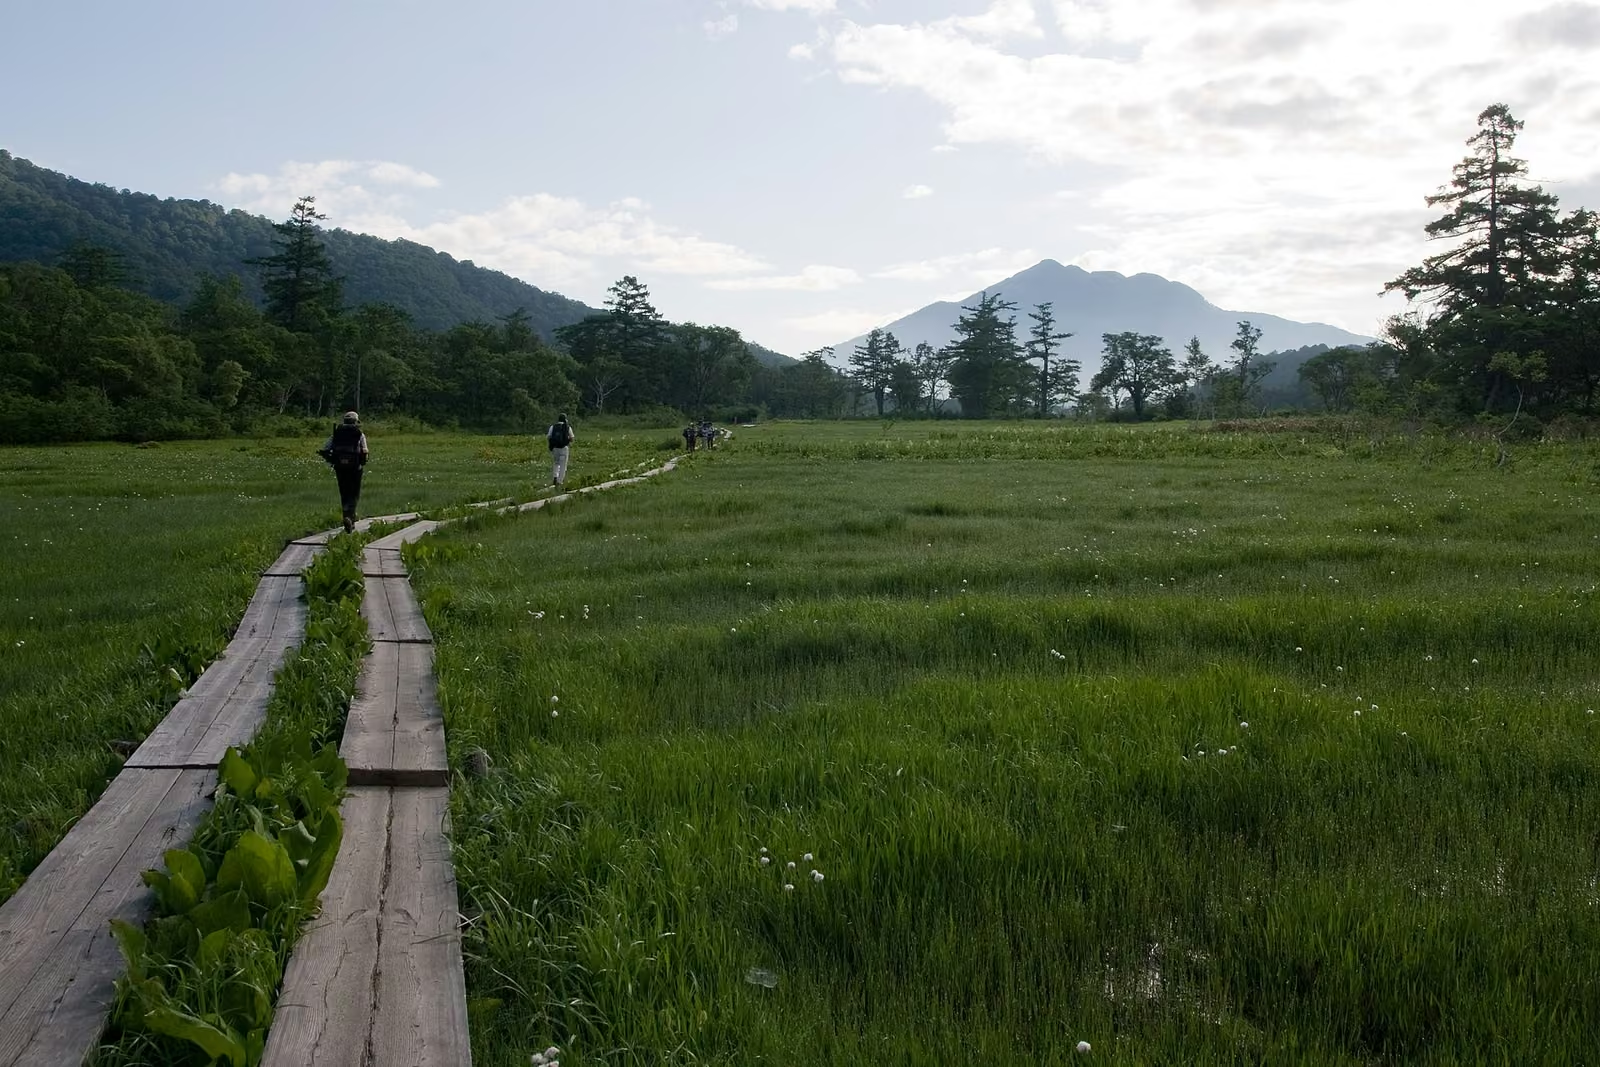
Photo: ForestWander, Wikimedia Commons (CC BY-SA 3.0 US)

What to Do If Thunder Starts While Hiking: Mountain Lightning Safety, Evacuation Position & Turnaround Decisions
A practical mountain lightning safety guide based on Japan Meteorological Agency (JMA) guidance. Learn how to spot developing cumulonimbus clouds, why distant thunder means you are already in strike range, where to evacuate on exposed ridges, how to take the lightning crouch, and why the '2 PM rule' saves lives.
Summer and early-autumn mountain skies can turn from crystal-clear blue to a life-threatening electrical storm in less than an hour. When strong solar heating warms mountain slopes during the morning, rising thermals build towering cumulonimbus clouds (sekiran-un / 積乱雲) by early afternoon—bringing sudden downpours, gale-force downdrafts, hail, and deadly cloud-to-ground lightning.
Above treeline on an exposed ridge or summit, your own body and backpack are often the tallest objects around. Even more dangerously, wait until rain starts or thunder sounds directly overhead and it may already be too late to reach shelter.
Drawing on official lightning-safety guidance from the Japan Meteorological Agency (JMA), this guide explains what to do the moment you hear distant thunder or spot dark anvil clouds on the trail, where to evacuate—and where never to stand—how to assume the emergency lightning crouch (raishisei) if trapped on an open ridge, and how to plan your itinerary around the "Arrive by 2:00 PM" rule.
Why Mountain Lightning Is So Dangerous: Direct Strikes, Side Flashes & Ground Current
Unlike in urban areas surrounded by tall steel-framed buildings and power-line arresters, mountain terrain offers almost no built-in lightning protection. Hikers face three distinct electrical hazards:
- Direct Strike (直撃雷): Lightning strikes the highest protruding point on a summit, ridge, rock pinnacle, or open meadow—including a standing hiker, raised trekking poles, or an umbrella.
- Side Flash (側撃雷): When lightning hits a tall lone tree, summit shrine, boulder, or metal ladder/chain, part of the current jumps sideways through the air into anyone standing within 2 to 4 meters of the object.
- Ground Current / Step Voltage (歩幅電圧・地面電流): When lightning strikes the ground or a nearby rock, high-voltage current radiates outward across the wet rock and soil surface. If your feet are planted wide apart—or if your hands, knees, or hips are touching the ground—current flows up one point of contact and out the other, passing through vital organs.
Step 1: Recognize the Warning Signs Before the First Flash
According to the Japan Meteorological Agency's Lightning Protection Guide, "Even if thunder sounds faint and far away, a cumulonimbus cloud has already reached its mature lightning-producing stage—and a bolt can strike where you are standing at any moment."
Watch and listen for these four field precursors while hiking:
- Rapid Vertical Growth of Cumulus Clouds: White fair-weather cumulus clouds (watagumo) billow rapidly upward into dark-bottomed cauliflower towers (nyudogumo / cumulonimbus) before noon.
- Sudden Cold Downdrafts & Gust Fronts: A sudden blast of noticeably cold, damp wind sweeping down from the cloud base signals a mature storm cell's downdraft—lightning and heavy rain or hail often follow within minutes.
- Distant Rumble of Thunder (Gorogoro): Sound travels at roughly 340 meters per second (~1 km every 3 seconds). Even if you count 30 seconds between flash and rumble (~10 km away), lightning can jump 10 km or more from the edge of a cumulonimbus cloud ("bolt from the blue"). The very first rumble of distant thunder is your signal to stop climbing and move toward safer terrain immediately.
- Static Electricity Warnings (Immediate Strike Risk!): If your hair stands on end, your skin tingles, or metal gear (trekking poles, ice axes, zippers, camera tripods) emits a faint buzzing or clicking sound (
ジジジ…), a lightning channel is forming directly overhead—drop into the lightning crouch immediately!


Step 2: Immediate Action Protocol When Thunder Sounds on the Mountain
1. Leave Summits, Exposed Ridges, and Open Meadows Immediately
The most dangerous places in the mountains during a thunderstorm are:
- Summits and exposed ridgelines above treeline
- Rock pinnacles, boulder fields, and chain/ladder sections (kusariba / hashigoba)
- Open wetlands, boardwalks (such as Ozegahara), and highland plateaus
If you are on or approaching a summit or ridgeline when thunder rumbles, abandon the summit push immediately and descend off the crest into a lower saddle, forested slope, or nearby mountain hut.



2. Safe Shelters vs. Deadly Traps: Where to Go (and Where NOT to Go)
| Location | Safety Rating | Why & How to Behave |
|---|---|---|
| Hard-Topped Vehicle or Bus (at trailhead) | Safest | Metal car body acts as a Faraday cage; keep windows closed and avoid touching metal trim. |
| Reinforced Concrete Building or Mountain Hut | Safe | Stay at least 1 meter away from walls, windows, electrical outlets, and plumbing/appliances. |
| Dense, Uniform Forest below Ridge Crest | Relatively Safe (Outdoors) | Crouch in a low hollow surrounded by trees of roughly equal height, keeping at least 4 meters away from any tree trunk or overhanging branch. |
| Under a Lone Tree (一本木) | EXTREMELY DANGEROUS | Never take shelter under a lone tree! High risk of fatal side flash (側撃雷) jumping from the trunk to your body. |
| Rock Overhangs, Shallow Caves, or Cliff Bases | DANGEROUS | Lightning current flows down the cliff face and arcs across shallow cave openings directly through anyone sheltering inside. Keep at least 2–4 m away from rock walls. |
| Inside a Camping Tent | NOT Lightning-Proof | Aluminum or carbon tent poles offer zero Faraday protection. If a storm hits your campsite, evacuate to an adjacent mountain hut if available, or crouch on an insulated sleeping pad in the center of the tent away from poles and walls. |


Step 3: How to Take the Emergency "Lightning Crouch" (Raishisei) When Caught in the Open
If a thunderstorm overtakes you on an open slope or ridge where no building or mountain hut is within reach:
- Move to the Lowest Nearby Depression: Step off the ridge crest into a shallow dip, gully bottom (avoiding flash-flood watercourses), or low scrub pine (haimatsu) zone—keeping at least 2 to 4 meters away from tall rocks, boulders, signposts, chains, and trees.
- Lay Down Long Objects (Do Not Throw Away Rainwear):
- If you are carrying extended trekking poles, an ice axe, a camera tripod, or an umbrella protruding above your shoulders, collapse them or lay them flat on the ground several meters away so nothing projects upward above your head.
- (Note: According to JMA research, small metal items worn on your body—such as eyeglasses, watches, buckles, or smartphones—do not change the probability of being struck; what matters is height above the ground. Never waste precious seconds stripping off your watch or glasses instead of lowering your body height!)
- Assume the Lightning Crouch (
雷姿勢):- Crouch low on the balls of your feet with your knees bent and torso tucked forward, making yourself as low as possible.
- Bring both heels together (
両足を揃える): If ground current flows through the earth from a nearby strike, keeping your left and right feet touching minimizes the step voltage (歩幅電圧) across your legs. - Never lie flat on the ground or place your hands/knees on the dirt: Only the soles of your hiking boots (or your foam sit-pad/backpack placed under your feet) should contact the ground.
- Cover your ears with both hands: Protects your eardrums from the concussive shockwave of a close strike.
- Spread Out Your Group: If hiking in a party, space members at least 4 to 5 meters apart so a single strike or ground current does not incapacitate everyone at once—leaving uninjured teammates able to perform CPR.
Step 4: How Long Should You Stay Sheltered? (The 30-Minute Rule)
A single cumulonimbus cell typically lasts 30 to 60 minutes, but in mountain ranges, multiple storm cells often form in a line (multi-cell storms), bringing a second wave just as the sky briefly brightens.
- Wait at least 30 minutes after the final rumble of thunder before leaving shelter or climbing back onto an exposed ridge.
- Put on your rain jacket, rain pants, and warm mid-layer before or during your wait: thunderstorm downdrafts and hail can drop mountain temperatures by 10°C or more in 15 minutes, creating an immediate risk of hypothermia on top of lightning hazard.
- If cell service is available, check the JMA High-Resolution Precipitation & Lightning Nowcast to confirm that red/yellow lightning activity zones have completely cleared your mountain range.
Pre-Hike Prevention: The "Start Early, Arrive by 2:00 PM" Rule
In the Japanese Alps and high mountains during summer (July–September), thermal cumulonimbus clouds develop almost like clockwork from 1:00 PM to 4:00 PM:
- Plan to Reach Your Hut, Campsite, or Below-Treeline Trailhead by 2:00 PM: Set out at 5:00–6:00 AM, cross exposed summits and knife-edge ridges during the stable morning hours, and be safely off the ridge before afternoon clouds mature.
- Check Upper-Air Instability Before You Go: Even when the surface forecast shows a "sun icon," check mountain weather forecasts for words like "unstable atmospheric conditions" (
大気の状態が不安定), "cold air aloft" (上空の寒気), or "thunderstorms from afternoon onward" (午後は雷雨). - Turn Back Decisively at the Midpoint: If cumulus clouds are already towering dark above the ridge by 10:00–11:00 AM, turn back or take an escape route down into the forest before entering a long chain-ladder section or exposed traverse.
Summary: 5 Golden Rules for Mountain Lightning Safety
- First rumble = already in strike range: Never wait for rain to start; descend off summits and ridges at the first sound of distant thunder.
- Never shelter under a lone tree or shallow rock overhang: Side flashes and rock-wall currents are frequently fatal; keep at least 4 meters from trees and boulders.
- Lower your height and bring your heels together: Collapse trekking poles, crouch low on the balls of your feet with heels touching, and never lie flat on the ground.
- Protect against hypothermia while waiting: Put on your rain shell and warm layer immediately, as hail and downdrafts chill wet hikers rapidly.
- Finish ridge walking by 2:00 PM: Start at dawn and complete all exposed alpine ridges during the calm morning hours.
Official References & Further Reading
- Japan Meteorological Agency (JMA) — High-Resolution Precipitation & Lightning Nowcast
- Japan Meteorological Agency (JMA) — Protecting Yourself from Lightning (雷から身を守るには)
- Japan Meteorological Agency (JMA) — How to Use the Lightning Nowcast
- Japan Meteorological Agency (JMA) — Severe Weather Precautions: Lightning
- National Police Agency — Overview of Mountain Accidents in Japan (PDF)