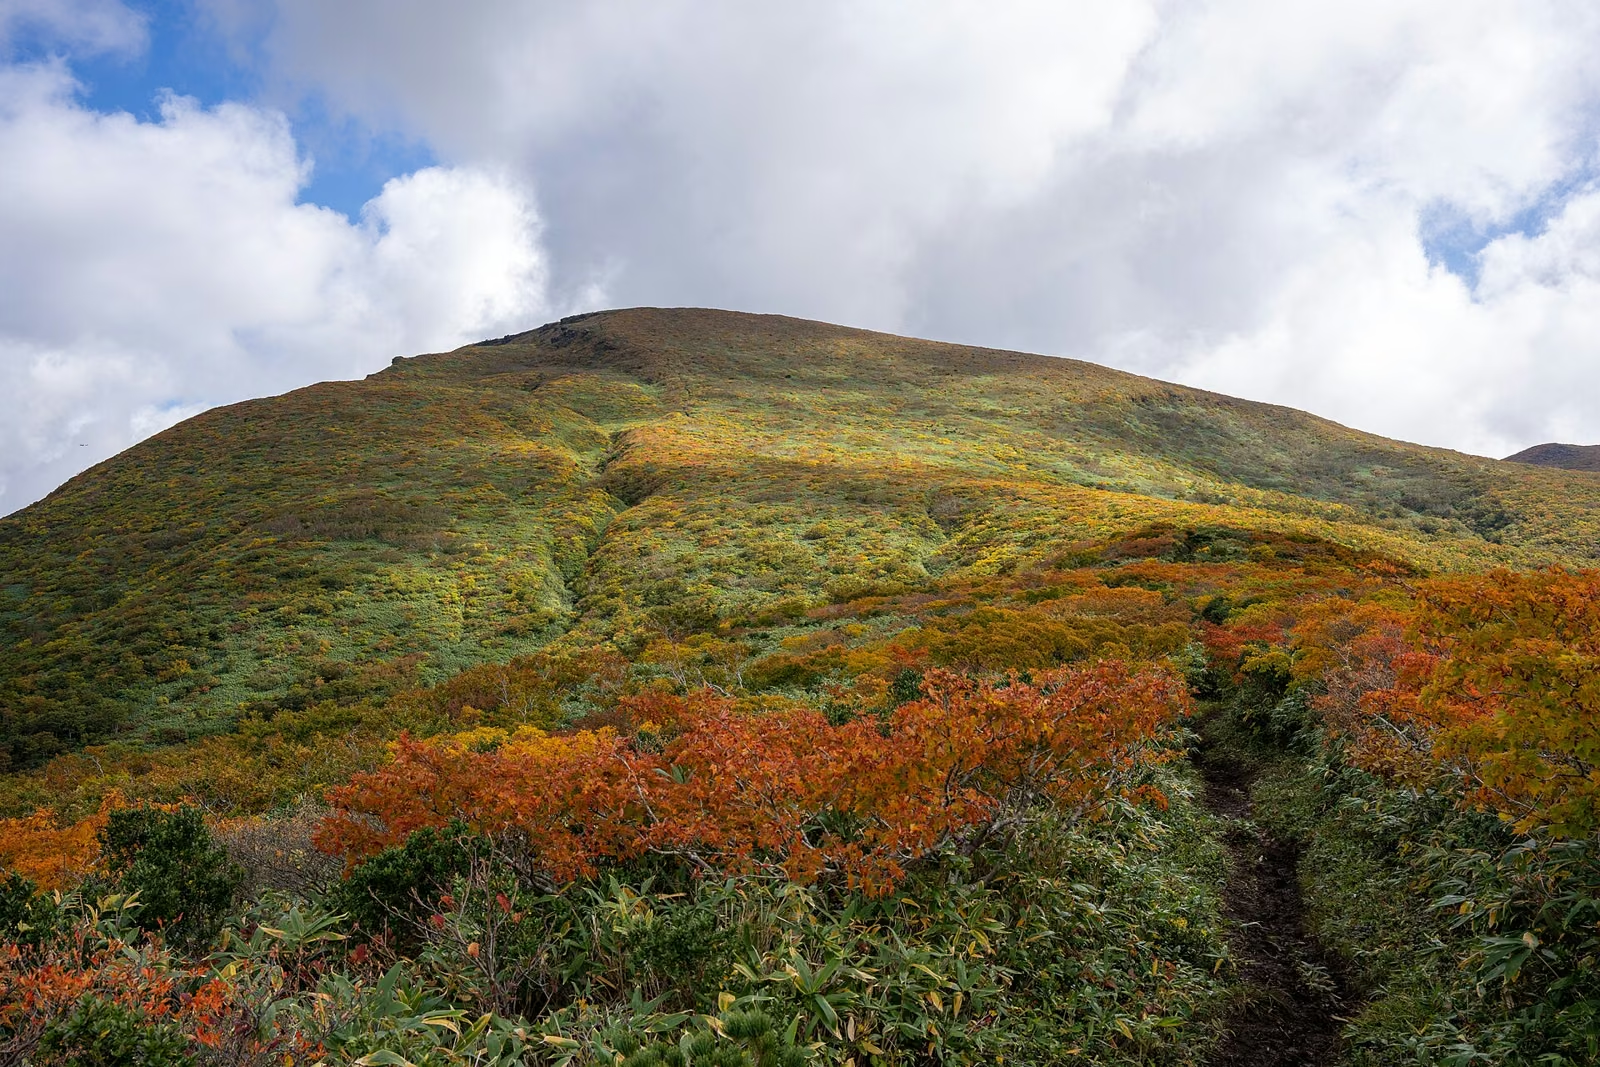
Photo: 掬茶, Wikimedia Commons (CC BY 2.0)

Bringing Hot Water on Late-Autumn Hikes: Choosing Thermos Capacity (500 / 750 / 900 ml), Reading '77°C at 6 Hours,' and What Never to Pour Inside
Why carrying boiling water in a mountain vacuum flask is a game-changer for late-autumn and winter hikes. Learn how to choose between 500 ml, 750 ml, and 900 ml bottles, what '77°C after 6 hours' actually means on a cold summit, how to pre-heat your bottle, and why plain hot water beats pre-mixed drinks.
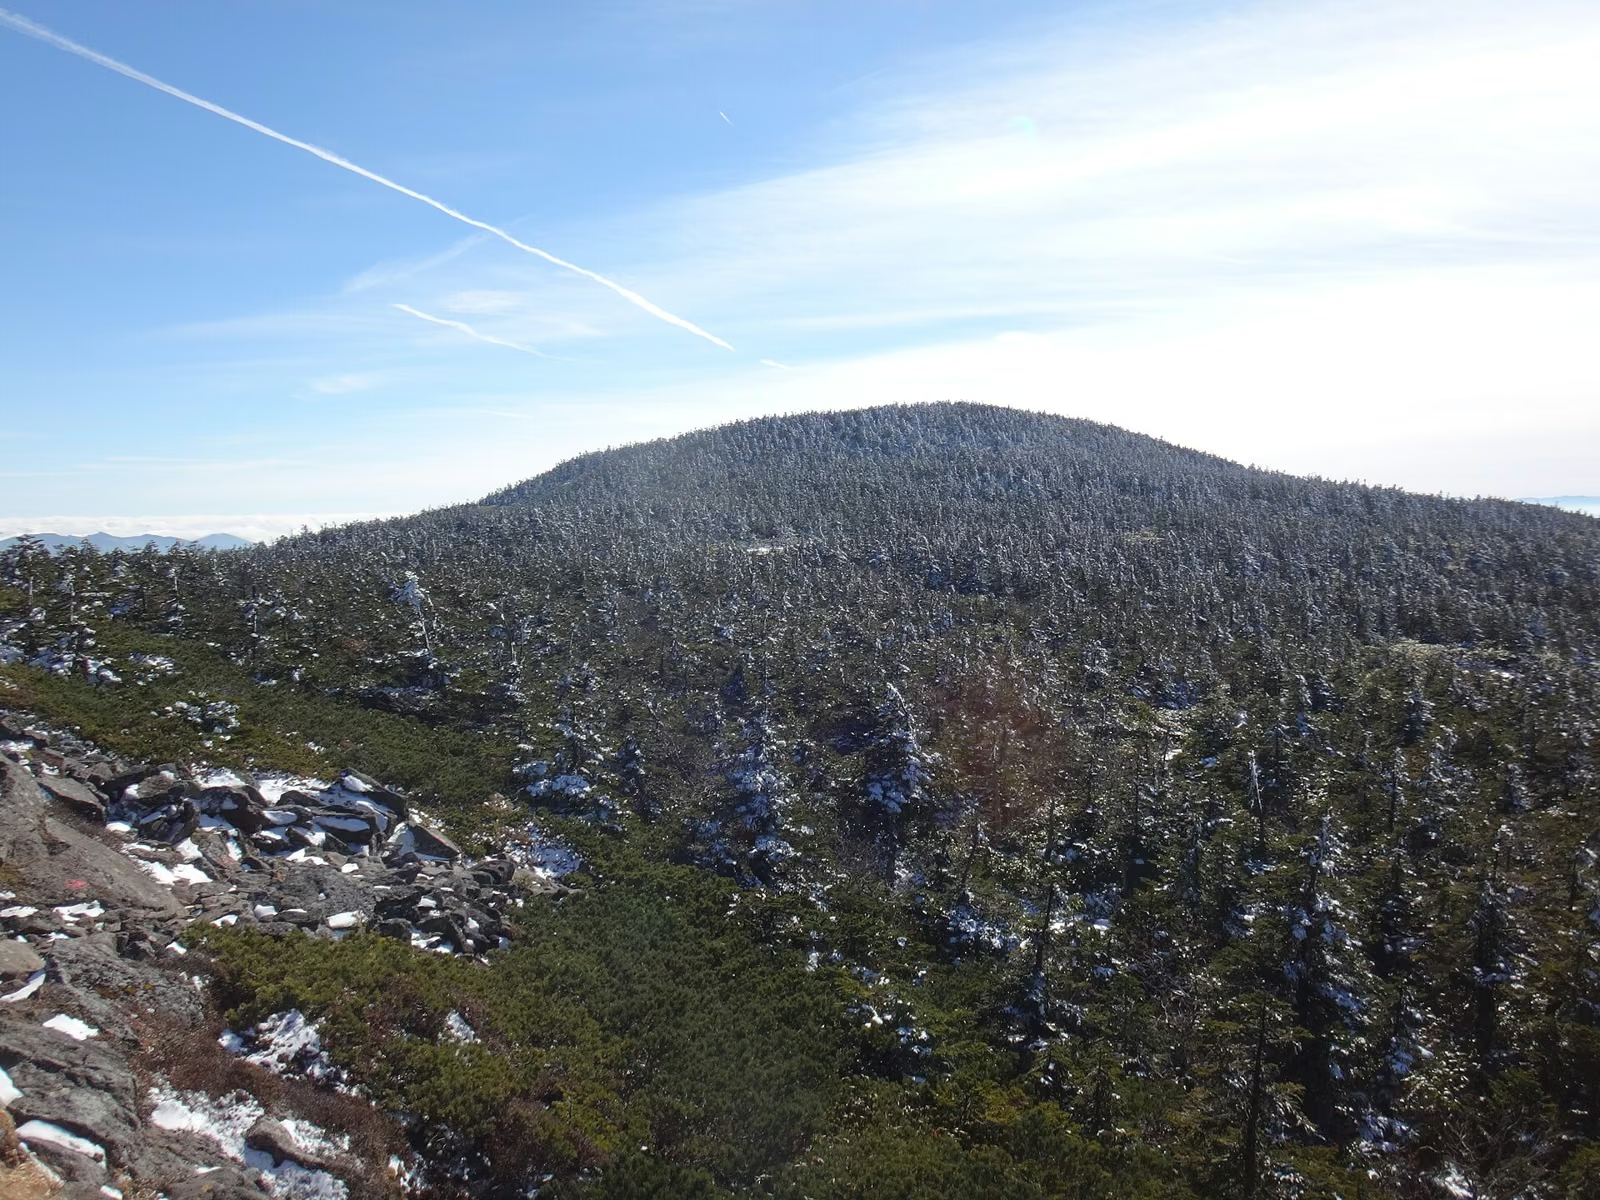
Once late autumn arrives in the mountains of Japan, a sunny trailhead at 12°C can easily give way to a freezing 0°C to 5°C summit swept by 10 m/s winds. When you stop for lunch on an exposed ridge after sweating on the ascent, your body cools rapidly—and taking a sip of ice-cold water from a summer hydration bottle or soft flask only accelerates the chill.
That is why experienced autumn and winter hikers carry boiling water in a dedicated mountain vacuum bottle (insulated thermos). With hot water ready to pour the second you sit down—no stove assembly, no wind-screen struggles, and no waiting 10 minutes for a cold gas canister to boil water—you can make hot soup, coffee, or cup noodles in 10 seconds and warm your core from the inside out.
This guide explains how to choose the right bottle size (500 ml, 750 ml, or 900 ml) based on the exact milliliter requirements of trail foods, how to interpret the "77°C or higher after 6 hours" rating on a freezing mountain, why you should always fill your thermos with plain boiling water alongside a separate bottle of drinking water, and what liquids should never go inside a stainless-steel flask.
Why a Mountain Thermos Beats a Stove on Cold, Windy Day Hikes
Carrying a single-burner stove is wonderful on calm, warm days, but in late autumn and winter a dedicated mountain vacuum bottle has three decisive advantages:
- Zero Wait Time in Freezing Wind: On a windy summit where fingers go numb in minutes, unscrewing a bottle stopper takes 5 seconds. Lighting a stove in high wind—or dealing with pressure drop in a normal butane/isobutane gas canister near 0°C—takes far longer and risks stove tip-overs.
- Lighter and More Compact Than a Full Cookset for Solo Hikes: A 500 ml mountain thermos (~260–280 g empty) weighs less than carrying a stove burner, 110/250 g OD gas canister, windscreen, and titanium pot—and works even inside wind shelters or rest areas where open flames are prohibited.
- Instant Core Warming During Short Standing Breaks: You do not climb a mountain only for lunch at the summit. With a vacuum bottle in your pack's side pocket, you can pour 100 ml of hot tea or ginger water into its cup during a 3-minute layer break halfway up the ridge.
How to Read "77°C or Higher After 6 Hours" (JIS Testing vs. Real Mountain Conditions)
When comparing mountain vacuum bottles—such as the classic Thermos Mountain Bottle (山専ボトル) series—you will see specifications like "Heat retention (6 hours): 77°C or higher (保温効力 6時間:77℃以上)". What does that number actually mean?


1. The Standard Test Condition (JIS S 2006)
Under the Japanese Industrial Standard (JIS S 2006) used by manufacturers:
- Ambient room temperature is held at 20°C ± 2°C.
- The bottle is filled to the bottom edge of the inner stopper with 95°C ± 1°C hot water.
- With the stopper and cup closed vertically for 6 hours, the water temperature inside must still be 77°C or higher (for the 500 ml model).
2. What Happens in Real Late-Autumn Mountains (0°C–5°C)?
Because the stainless-steel double wall is separated by a high vacuum, very little heat escapes through the sides or bottom of the bottle; most heat loss occurs by conduction and radiation around the neck and inner stopper.
Even when outside air is 0°C to 5°C instead of 20°C, a well-preheated mountain thermos filled at 5:30 AM before leaving home typically retains 75°C to 82°C water at 11:30 AM (6 hours later)—plenty hot enough to rehydrate cup noodles, alpha rice, or drip coffee, and still too hot to gulp straight from the cup without blowing on it.

3. Why Mountain Bottles Use a Screw-Type Inner Stopper (Not a One-Touch Flip Lid)
Everyday commuter mugs often use a convenient one-touch flip button. Dedicated mountain bottles (like the Thermos FFX series or Montbell Alpine Thermo Bottle) deliberately use a simple screw-in insulated stopper (often a double-threaded design) for three reasons:
- Superior Thermal Insulation: A thick, foam-insulated screw plug eliminates the thin mechanical seams of a flip lid where heat escapes.
- Freeze & Pressure Reliability: At high elevation (low atmospheric pressure) or below freezing, one-touch latches can pop open inside your pack or freeze shut; a large textured screw ring can be turned easily even while wearing thick winter gloves.
- Clean Maintenance: Fewer rubber gaskets and springs mean easy cleaning when you get home.
Choosing Between 500 ml, 750 ml, and 900 ml: Calculate from Your Menu
To avoid running short of hot water at the summit—or carrying unnecessary weight—add up the exact water volume required by what you plan to eat and drink:
Exact Hot Water Required per Item
| Trail Food / Hot Drink Item | Hot Water Needed | Source / Notes |
|---|---|---|
| Alpha Rice (Onisi Foods 100 g pouch) | 160 ml | Onisi Foods Official Spec Table (15 min wait with hot water) |
| Cup Noodle (Regular size) | ~300 ml | Standard fill line (Mini size: ~170 ml; Big size: ~410 ml) |
| Freeze-Dried Miso Soup / Egg Soup (1 block) | ~160 ml | Standard single serving |
| Stick Coffee / Black Tea / Ginger Tea (1 cup) | ~140–150 ml | Standard mountain mug serving |
| Instant Cup Soup / Corn Potage (1 packet) | ~150 ml | Stir thoroughly for 15 seconds |
Comparison of the 3 Standard Mountain Bottle Sizes (Thermos FFX Series)
| Model & Capacity | Weight (with / without silicone rings) | Heat Retention (6 hrs) | Ideal Use Case & Menu Example |
|---|---|---|---|
| FFX-502 (500 ml) | ~280 g (~260 g) | 77°C or higher | Solo Day Hike Standard: • 1 Regular Cup Noodle (300 ml) + 1 Hot Coffee (150 ml) = 450 ml • Or Alpha Rice (160 ml) + Soup (160 ml) + Coffee (150 ml) = 470 ml |
| FFX-752 (750 ml) | ~360 g (~330 g) | 78°C or higher | Long Solo Cold Hike or Light Pair Hike: • Cup Noodle (300 ml) + Soup (160 ml) + 2 Cups of Hot Drink (280 ml) = 740 ml • Higher thermal mass keeps water ~1–2°C hotter than the 500 ml size |
| FFX-902 (900 ml) | ~390 g (~360 g) | 80°C or higher | Two-Person Hike or Full Winter Snow Hike: • 2 Regular Cup Noodles (600 ml) + 2 Cups of Coffee (300 ml) = 900 ml • Highest heat retention (80°C+ at 6h) for sub-zero days |
3 Golden Rules to Maximize Heat Retention on the Trail
Even the best vacuum bottle will lose 5–8°C right at the start if you pour boiling water into ice-cold steel. Follow these three steps every morning before your hike:


- Always Pre-Heat (Yonetsu / 予熱) the Bottle First: Pour 100–150 ml of boiling water into the empty bottle, swirl it gently, and let it sit for 1 to 2 minutes until the inner steel wall is hot. Discard that water, then immediately fill the bottle with freshly boiled 100°C rolling-boil water.
- Fill All the Way to 1 cm Below the Inner Stopper: Air inside the bottle cools much faster than water. Leaving a half-empty bottle creates a large pocket of air that accelerates cooling. Choose a bottle size (500 ml vs. 750 ml) that lets you fill it completely to the neck.
- Pour Quickly and Close the Stopper Immediately on the Summit: When making noodles or coffee in cold wind, unscrew the inner stopper only half a turn to pour, then close it right away before stirring your cup.
Hydration Strategy: Why You Must Carry Both Plain Boiling Water and Cold/Room-Temp Water
A common beginner mistake in autumn is carrying only a thermos of hot tea or hot coffee. In the mountains, always split your fluids into two containers:
- Inside Your Insulated Bottle: Plain Boiling Water (
白湯 / お湯Only):- Plain boiling water can become anything on the mountain: cup noodles, alpha rice, miso soup, coffee, black tea, or plain warm water (sayu).
- In an emergency, cooled plain water can also be used to irrigate a scrape or wound or wet a bandana—something you can never do with sweetened milk tea or coffee.
- Bonus when you get home: a bottle that only held plain hot water requires nothing more than a quick rinse and air-drying!
- In a Separate 500 ml–1.0 L Bottle: Room-Temperature Water or Electrolyte Drink:
- While climbing a steep ridge, your body still sweats and needs quick sips every 20–30 minutes. You cannot chug 80°C water while breathing hard on an uphill climb!
- Even in late autumn, total fluid intake requirement follows the standard mountain hydration formula: $$\text{Minimum Fluid (ml)} \approx \text{Body Weight (kg)} \times \text{Walking Hours (h)} \times 3.5\text{ to }4.0$$ (For a 60 kg hiker on a 5-hour autumn hike, carry at least 1.0 to 1.2 L total—for example, 500 ml of boiling water in your thermos + 500–600 ml of room-temperature water in a regular bottle.)
What You Should NEVER Put Inside a Stainless-Steel Vacuum Bottle
According to official safety manuals from vacuum-bottle manufacturers (such as the Zojirushi Stainless Bottle Instruction Manual (PDF) and Zojirushi Sports Drink & Salt Precautions), never fill your mountain thermos with the following:
| Prohibited Item | Why It Is Dangerous | Safe Trail Alternative |
|---|---|---|
| Dry Ice or Carbonated Drinks | Internal gas pressure builds up rapidly, which can launch the stopper violently or make the lid impossible to unscrew. | Carry carbonated drinks only in containers rated for carbonation. |
| Milk, Cafe Latte, or Dairy Drinks | Warm dairy kept at 40–60°C for hours spoils rapidly, producing fermentation gas, foul odors, and food-poisoning risk. | Carry plain boiling water in the thermos and stir in stick milk-coffee powder inside your mug right before drinking. |
| Miso Soup, Broth, or Salty Liquids | Chloride ions (salt) attack the passive layer of stainless steel, causing pinhole rust and loss of vacuum insulation (unless using a bottle explicitly rated for salt). | Carry freeze-dried miso soup blocks or broth packets and mix them in your mug at lunch. |
| Boiling Sports Drinks | Heating acidic sports drinks inside standard stainless steel accelerates metal corrosion and leaves lingering odors. | Dissolve electrolyte powder in your separate cold/room-temperature water bottle, or mix in your cup. |
Official References & Further Reading
- Nagano Prefecture Mountain Safety Council — Autumn Mountain Hiking Safety Guidebook (PDF)
- Thermos Japan — Mountain Bottle FFX-502 (500 ml) Official Specifications
- Thermos Japan — Mountain Bottle FFX-752 (750 ml) Official Specifications
- Thermos Japan — Mountain Bottle FFX-902 (900 ml) Official Specifications
- Onisi Foods — Alpha Rice Product Specifications & Required Water Volume
- Zojirushi Corporation — Stainless Vacuum Bottle Instruction Manual & Prohibited Contents (PDF)
- Zojirushi Corporation FAQ — Precautions Regarding Sports Drinks and Salt in Stainless Bottles